Image Compression Guide: How to Compress Images for Web Without Losing Quality
Complete guide to image compression for the web. Covers lossless vs lossy, format selection (JPEG vs PNG vs WebP), a step-by-step compression workflow, and real before-and-after numbers from a site that cut page weight by 72%.
Your website is loading slowly. Visitors are leaving before the page finishes rendering. Google is ranking you lower because your Largest Contentful Paint (LCP) score is in the red zone. And the cause is almost certainly sitting right in front of you: those beautiful, high-resolution images you uploaded directly from your camera without a second thought.
I learned this the hard way when I launched my first portfolio site. I had spent weeks perfecting the design and writing the copy, and then I uploaded my work samples as full-resolution JPEGs straight out of Lightroom. Each image was 5 to 8 megabytes. The homepage had eight of them. That is 40 to 64 megabytes of images loading on a single page.
Image compression is the fix. But there is a right way and a wrong way to do it.
Understanding Image Compression: Lossless vs. Lossy
Lossless compression reduces file size without changing a single pixel. The compressed image is mathematically identical to the original. Trade-off: modest file size reduction (15-40%).
Lossy compression reduces file size by discarding data the human eye is unlikely to notice. The result is not identical to the original, but at moderate levels, the difference is imperceptible. Trade-off: dramatic reduction (50-80%).
| Compression Type | File Size Reduction | Quality Impact | Best For |
|---|---|---|---|
| Lossless | 15-40% | None — identical to original | Screenshots, logos, text-heavy graphics |
| Lossy (moderate) | 50-70% | Imperceptible at normal viewing | Photographs, website images |
| Lossy (aggressive) | 70-85% | Visible artifacts, blurriness | Thumbnails, previews only |
How to Compress Images: A Step-by-Step Workflow
Resize Before You Compress
This is the single most impactful thing you can do. If your blog content area is 800 pixels wide, there is zero benefit to uploading a 5000-pixel-wide image. You are forcing every visitor to download pixels they will never see.
My rule of thumb: Resize to 1200px for hero images, 800px for inline content, 400px for thumbnails. This alone reduces file sizes by 60-80% before any compression is applied.
Choose the Right Format
| Format | Best For | Transparency | Compression |
|---|---|---|---|
| JPEG | Photographs | No | Lossy |
| PNG | Screenshots, logos | Yes | Lossless |
| WebP | Modern websites (recommended) | Yes | Both |
WebP is the best choice in 2026. It offers 25-35% better compression than JPEG at the same quality level and is supported by every major browser.
Apply Compression
Use the Image Compressor on Penkara. Upload an image, adjust the quality slider, and compare the before and after visually.
My quality presets:
- Hero images: 85% quality (WebP)
- Inline content images: 75% quality (WebP)
- Thumbnails: 60% quality (WebP)
- Screenshots with text: Save as PNG (lossless)
Verify the Compressed Image
Before uploading, zoom in to 100% and inspect areas with fine detail, gradients, and text. Look for blocky artifacts, blurry edges, or color banding. If you see any, nudge quality up by 5-10%.
Real Results: What Happened When I Compressed My Site
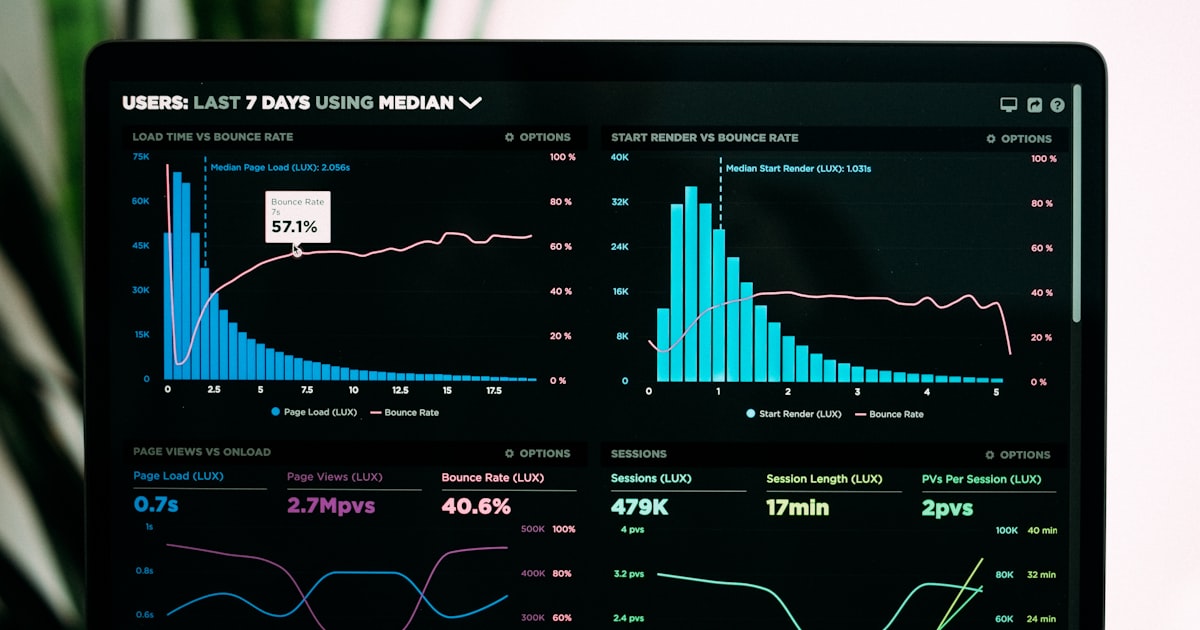
Before: Total page weight 8.1 MB, LCP 4.2s, PageSpeed score 34, bounce rate 72%
After: Total page weight 2.3 MB, LCP 1.8s, PageSpeed score 89, bounce rate 51%
72% size reduction. 57% faster load time. 20% organic traffic increase. The only change was image optimization.
Common Mistakes (And How to Avoid Them)
Compressing an already compressed image: Every time you save a lossy format, you lose additional quality. Always start from the original.
Using lossy compression on text-heavy screenshots: Text has sharp edges, and lossy compression blurs them. Save screenshots as PNG (lossless) instead.
Ignoring metadata: Images from cameras contain EXIF data (GPS location, camera settings). This adds unnecessary kilobytes and can be a privacy concern. Strip it during compression.
Key Takeaway
Image compression is not complicated: resize first, choose the right format (WebP for photos), compress to 75-85% quality, and verify the result. Follow this workflow for every image on your website and you will see faster load times, better engagement, and improved search rankings.
Final Thoughts
Image compression is one of the easiest ways to speed up your website. If you have not compressed your images yet, start with your most visited page. Run the images through a compressor, measure the difference, and see for yourself how much of an impact it makes.
Abo Gamil
Author